A print is an image created on one surface and then copied to another using colours. Prints are made using lots of different techniques and materials. For example, you might have used a technique a bit like printing if you used a potato stamp.
While today we have photocopiers and printers that can make many copies in a very short time, printing has not always as quick.
The V&A has a collection of prints that go back as far as 600 years ago, when printed objects were rare – and even simple paper games, such as a set of playing cards, could take a while to make.
https://youtu.be/nHAQXE6sbsQ
Look around your home. Can you find any examples of printed magazines, books or posters?
Prints can be fun and easy to make at home.
Let’s look at some prints from the V&A collection before we make our own.
Let’s find some inspiration
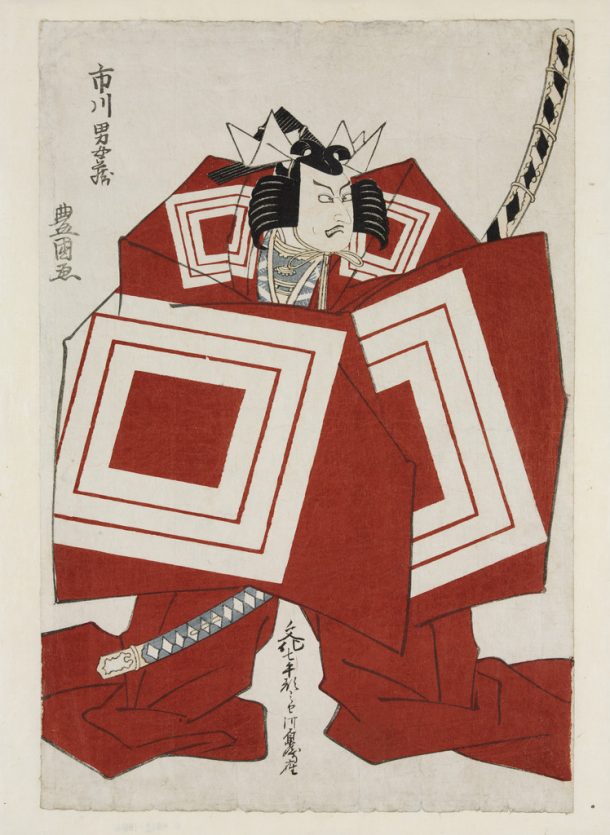
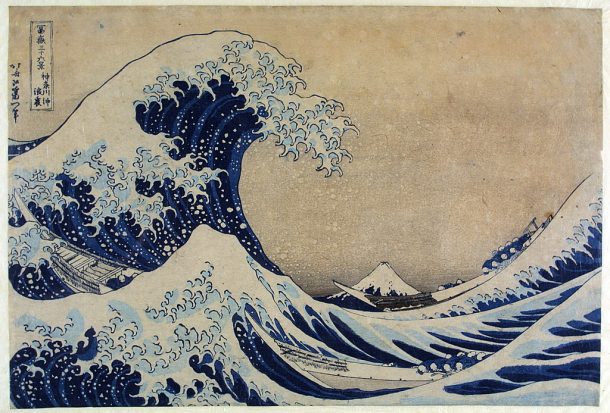
Look at these prints – some of them are woodcut prints. Like you do with a stamp, the artists who made them used carved wooden blocks coated with paint to print on paper. They reproduced scenes from the everyday life in Japan creating shapes outlined in black and filled in with bright colours.
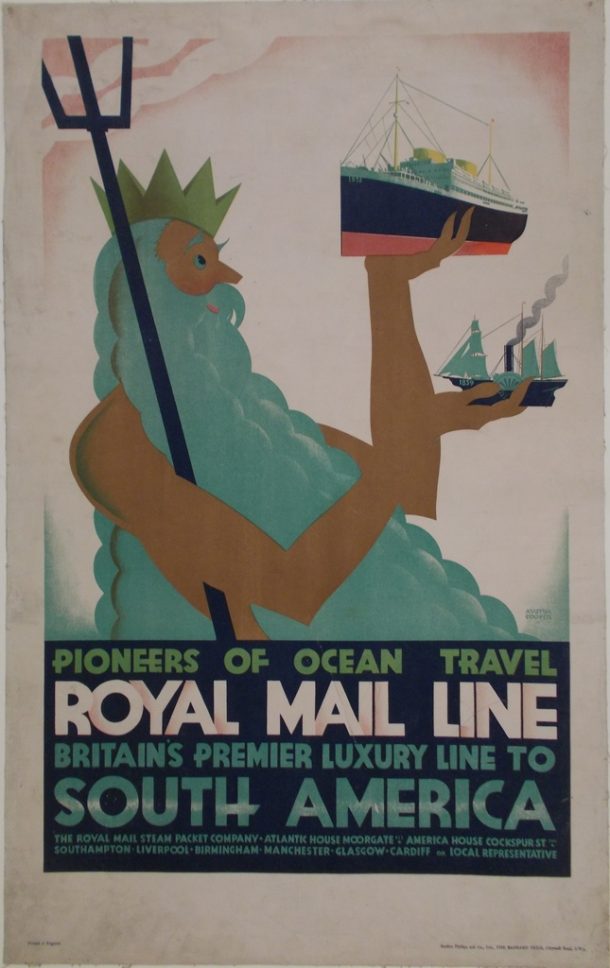
Together with wood, other materials used for printing are stone and metal. Prints created with stone and metal can be even bigger and more colourful than woodcut prints and are called lithographs. Many posters were created in the past using this technique, like this poster advertising cruise holidays. It represents the giant bearded figure of Neptune, God of the Sea, moving the travelling ships with his own hands.
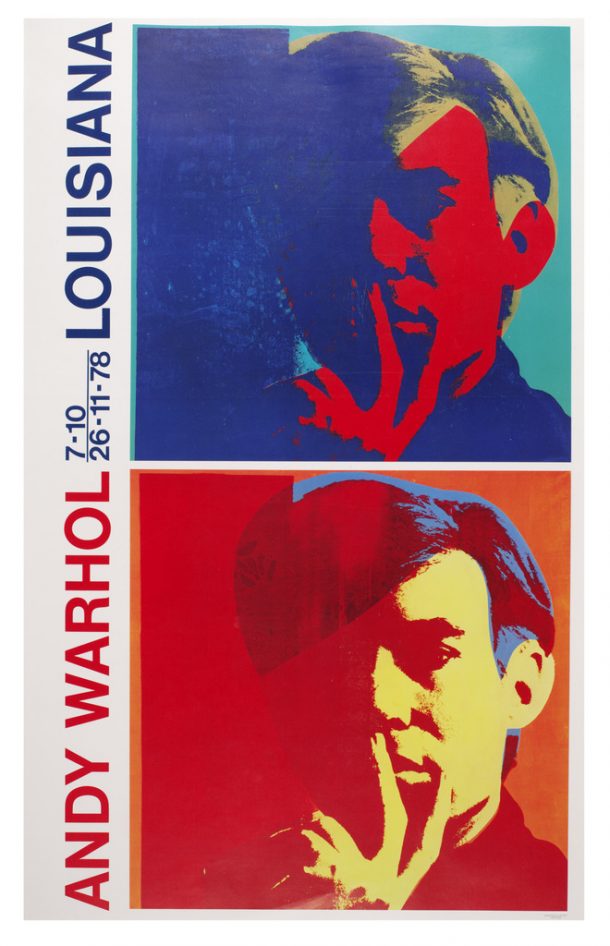
Artist Andy Warhol used printing to make copies of his posters, sometimes repeating the same image many times, using a different combination of bright colours in a style called pop art. This is his self-portrait.
There are many ways in which you can make a print, you don’t need paint to transfer an image or a pattern from one surface to the other. Let’s see now how you can play with colours, objects and surfaces and make a print at home using very simple tools like recycled materials and cutlery!
Let’s make our own print!
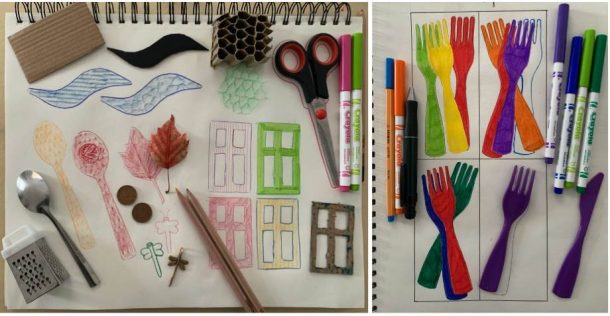
Start by making a couple of sketches of your print, this will help you think about what materials, patterns and colours you might need.
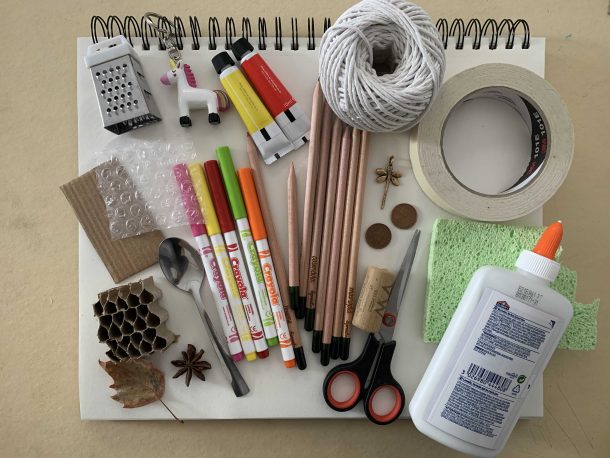
Now look around the house: how many recycled or household objects can you find that you could use to transfer a shape or a pattern to paper? Think about materials that are easy to cut, like cardboard and polystyrene, or that have a surface or texture that could make a nice pattern when rubbed or stamped onto paper, like a grater or a leaf.
Finally find some paper and colours: crayons, pencils or felt tip pens will work perfectly for copying your images many times and for transferring patterns and shapes from the objects to paper.
Before starting your print, test your tools.
- Cut the cardboard and polystyrene into shapes and trace their outlines with a pencil or pen on a sheet of paper. Don’t worry if you don’t have cardboard or polystyrene: cutlery, biscuit cutters or toys work perfectly!
- Place the other materials, such as the leaf, under the paper and rub it over to fill the outline. The rubbing technique might work better with a pencil or a crayon depending on which objects you are using.
- Rub over the objects several times noticing how different the result is depending on the pressure you use.
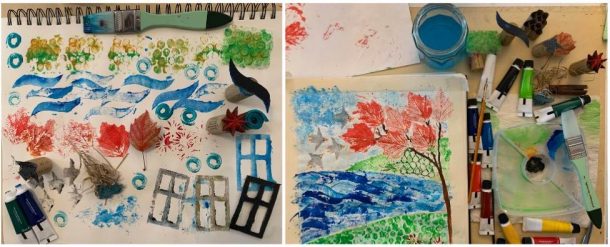
Your results will be different and may be unexpected – depending on what colours and materials you used. Don’t worry too much about the final result and experiment with your shapes and surfaces until you find a mix of colours and effects that you like. Try experimenting with overlaying your shapes with different colours, repeating shapes just like Andy Warhol did.
If, instead of crayons or pencils, you have also paints, now you could use your shapes and materials as stamps: paint them with a brush and then press them on a sheet of paper. Don’t worry if you don’t, you can continue to trace your shapes using pens or crayons to make your poster.
Now that you have played with colours and materials it’s time to create your poster!
What materials and shapes are you going to use?
Let’s frame your print into a digital poster
Now that you made your print, why not make it into a digital poster that you can edit, repeat and reprint? There are a number of free websites and apps that would allow you to do this. Just make sure that you ask your adult’s permission before using any of them. We have used the website Canva.
To make it digital, you could take a picture of your poster, upload it to your favourite app or website, and from there edit all or a detail of it.
3D scanning and printing
Prints are no longer just flat! Have you ever wondered how 3D printing works? Watch this film showing how precious objects from the V&A collection are scanned and printed so that even more people can have access to them while preserving the originals.
https://www.youtube.com/watch?v=ztzrxeat5s8
Don’t forget to share your prints and materials with us on social media using #LetsMakeWednesdays


